
Qwen Image 3 Edit: Recolor Shoes Without Redesigning

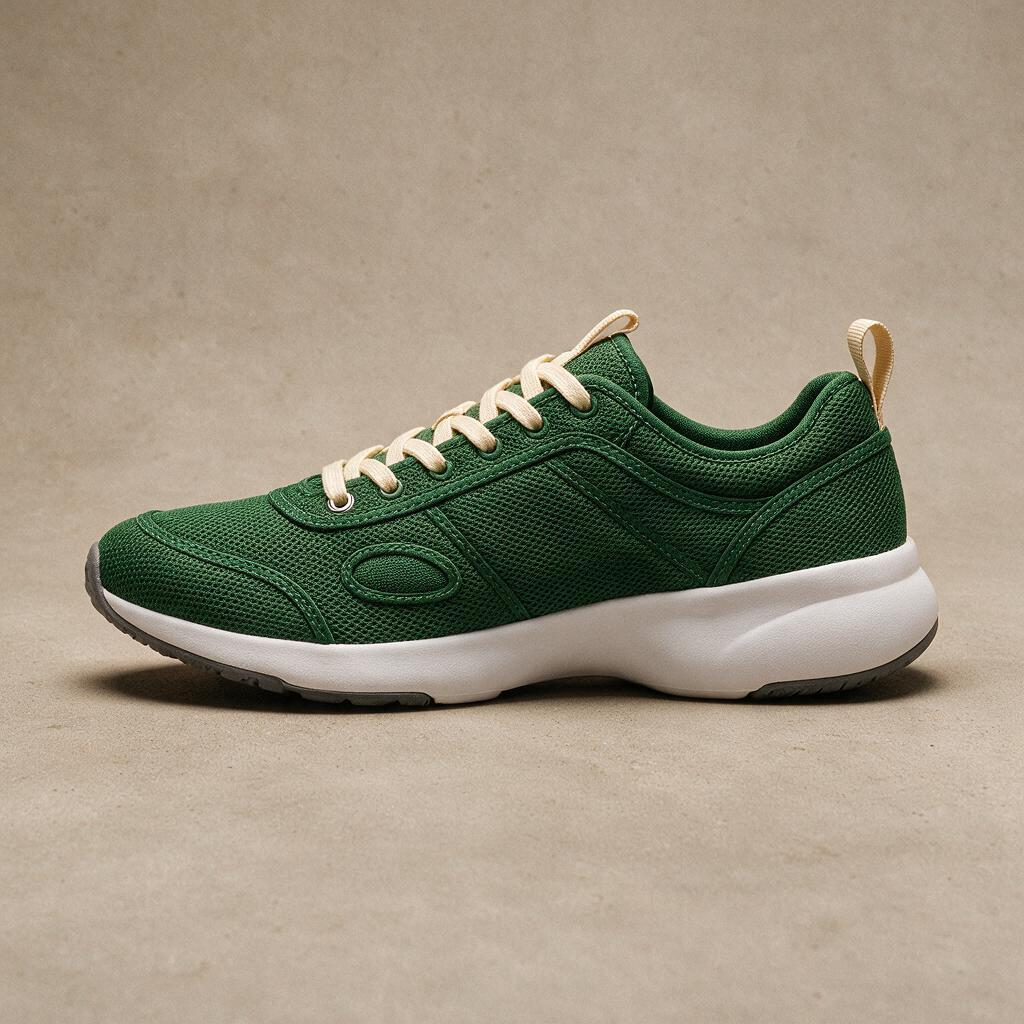
Changing a shoe's colour should not redesign its sole, move a seam, or replace mesh with leather. Qwen Image 3 Edit can take an existing product image and an editing instruction, but it does not provide a region lock. Treat “change only the upper” as a request to verify, not proof that the rest of the product will remain untouched.
Key TakeawaysSeparate the upper, laces, midsole, and outsole in the brief.Generate each colour candidate from the original product photo.Extra outputs are variations, not a list of independently assigned colours.Publish a colourway as a real SKU only after checking it against the product.
Define the Parts Before Choosing a Colour
Choose a sharp, authorised photograph that shows the panels being changed. A three-quarter view can reveal the upper and sole together; an overhead image may hide the outsole. Use the same source image for the first set so changes are easier to spot.
Write a short edit map: the mesh upper changes to forest green; laces remain cream; the midsole stays white; the rubber outsole stays dark grey. Add visible details that must survive, such as eyelet count, stitch lines, and the position of a pull tab. Avoid “make a green sneaker,” which describes a new object rather than a bounded edit.
Keep Colour and Material Separate
A green upper still needs to look like the original mesh. Describe both the requested hue and the retained material. A colour sample may help communicate intent, but the endpoint does not promise calibrated colour matching. Lighting, compression, and display settings also affect how a result looks.
For concepts, label the target colour in the working file. For a real listing, compare the output with an approved photograph or physical sample of that colourway. A convincing generated shade is not evidence that the manufacturer sells it.
Start Each Variant From the Original
The Siray Qwen Image 3 Edit specification accepts one to three images and requires model, prompt, images, size, and aspect_ratio. It supports n from one to six, but that is an output count, not a per-image colour assignment field. Use a separate request for each specified colour.
Do not feed the green candidate into the next request to make a blue shoe. Any unnoticed change in seams or proportions could carry into the next edit. Return to the original source, retain the same framing instructions, and change the colour clause. Turning prompt expansion off disables the documented rewrite step; it does not guarantee unchanged geometry.
Inspect More Than the Recoloured Panel
Area | Check before accepting |
|---|---|
Upper | Mesh remains mesh; colour does not spill onto laces |
Sole | Profile, tread edge, and thickness still match |
Construction | Eyelets, seams, and pull tabs remain in place |
Photograph | Shadows, crop, and camera angle have not changed unexpectedly |
View the source and candidate side by side at the same scale. If they align, a simple opacity overlay in an image editor can expose shifted edges. Inspect logos and small lettering separately; plausible-looking marks may still be incorrect. The absence of a mask or strength control makes this review more important, not optional.
What Belongs on the Product Page?
Use approved colourways only, and do not substitute a concept for accurate product photography. If a candidate changes construction or material, regenerate it or finish the edit with controlled retouching. Do not quietly accept a different shoe because the colour looks right.
The product-line consistency guide addresses matching lighting and framing across different products. This workflow has a narrower task: changing colour on one item while checking its construction. No completed edits or success-rate measurements are claimed here.
Create your free Siray account and test one panel-level colour change before producing a full set of variants.